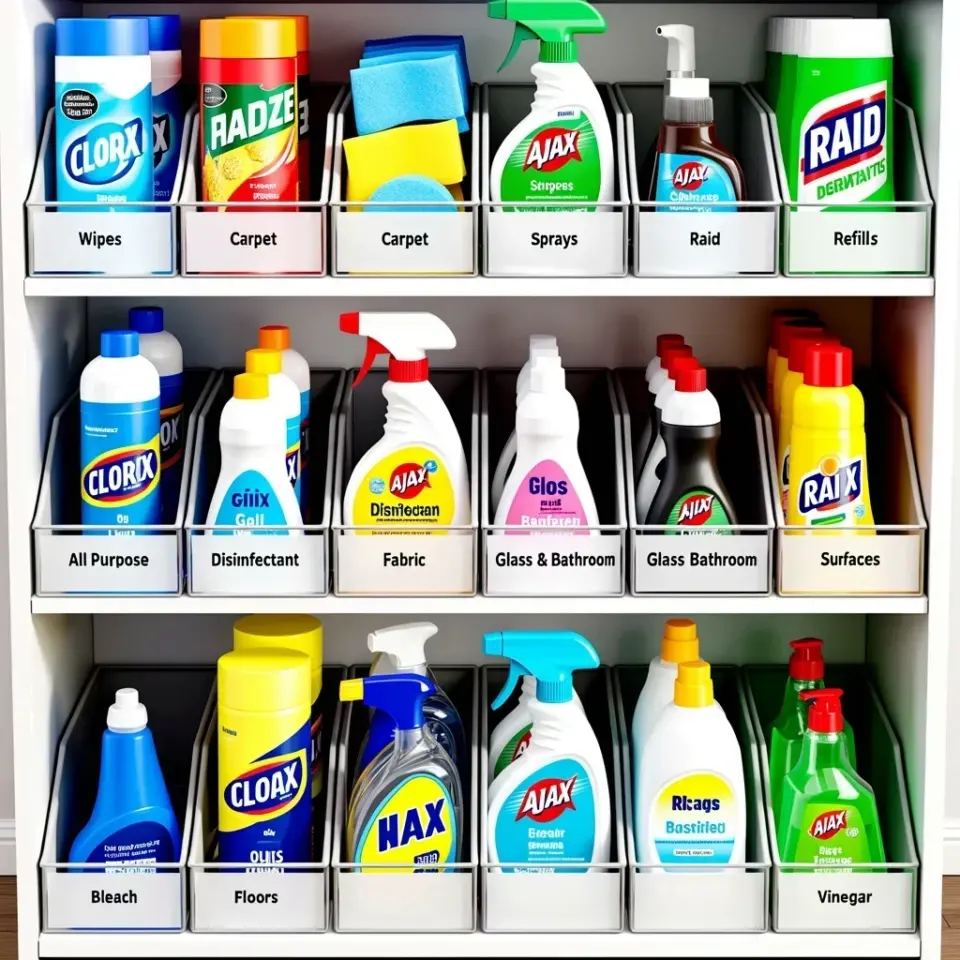
Okay, so I walked into Dollar Tree last Tuesday with a hot pink basket in my hand, fully ready to “Marie Kondo” my entire apartment. Ten minutes later, I had a cart full of mesh pouches, clear shoe boxes, and those little wire racks you see in everyone’s fridge photos. What I didn’t have was a plan. And that, right there, is the most common mistake people make when they try the mariekondo method on a budget. You can buy every $1.25 bin in the store, but if you haven’t sorted and touched each thing you own, you’re just rearranging chaos in cuter containers.
Common Dollar Tree Marie Kondo Mistakes (and How to Fix Them Fast)
Look, I’ve seen it happen to my best friend, my sister, and honestly, to myself about four times now. The problem isn’t the Dollar Tree stuff; the problem is the order you do things in. You bring the bins home, dump everything out, then get overwhelmed and shove it all back. Here’s the thing: you need to follow a specific sequence, and it’s not the one most blogs tell you.
- Prepare the space before you even go shopping. Measure the drawer, shelf, or cabinet.
- Pull absolutely every single item out of that one area. All of it. On the floor.
- Hold each item and ask the joy question. No bargaining. No “but it was a gift” excuses.
- Only then, make a list of what storage you actually need. That’s when you go to Dollar Tree.
Why Skipping the “Spark Joy” Test Ruins Your Budget Tidy Goals
I know, I know. The “spark joy” thing sounds so fluffy, like something you’d see embroidered on a throw pillow. But it works because it forces you to slow down. When you’re on a budget tidy kick, you want to speed through the declutter part so you can go shopping. That’s backwards. Really, it is.
Here’s the specific mistake: you toss things into a donate bag without holding them. Then you feel guilty later and buy replacements at Dollar Tree. See how that sends you in a circle? Instead, pick up each shirt, each spatula, each half-used lotion bottle. If it doesn’t give you a tiny kick, it goes. The only exception is things you legally need, like your passport or a plunger. Those don’t spark joy, they just exist.
The “One Basket for Everything” Trap in Dollar Tree Organization Hacks
You see a big rectangular basket and think, “Perfect, I’ll put all my scarves in there.” Then you also put your gloves, your gym socks, and that one random belt. Three weeks later, you’re digging through the basket, cursing. That’s not organized, it’s just hidden clutter. The marie kondo method is heavily about grouping by category and subcategory. Scarves go with scarves. Gloves go with gloves.
For Dollar Tree organization hacks to actually work, you need to buy multiple small bins instead of one big one. I bought four skinny baskets that fit side by side in my dresser drawer. One for underwear, one for bras, one for sports socks, one for dress socks. It’s boring, but it works. The moment I put that single “everything” basket back on the shelf, things clicked.
Ignoring Drawer Depth and Size (Measure Before You Buy Those Bins)
Not gonna lie, I have a graveyard of cute little Dollar Tree containers that are exactly one inch too tall for my kitchen drawer. I bought them without checking, and now they sit in a storage tote, reminding me of my failures. The fix is painfully simple. Take a measuring tape to the actual space. Write the numbers on a sticky note. Stick the note on your phone case if you have to. Do not rely on memory.
The widest mistake here is assuming all Dollar Tree sizes match your furniture. They don’t. Sometimes the bins are slightly narrower than a standard shelf, and stuff slides behind them. That drives me insane. Measure the height, the width, and the depth. Then measure again. Also measure the inside of the drawer, not the outside of the front panel. Yes, I had to learn that the hard way.
The Pantry Pile-Up: Dish Organizers Are Not Just for Dishes
Okay, here’s my weird, hyper-specific secret. Those cheap white dish drainers and soda can organizers from Dollar Tree are absolutely fantastic for pantry cans. Everyone looks at the label and thinks, “Oh, that’s for cans of soup.” But you can flip them sideways and use them for cutting boards, trays, or even baking sheets. I have one vertical dish rack holding all my lids, and it changed my life. No more lid avalanche every time I open the cabinet.
The mistake is buying those flimsy plastic risers that claim to double your shelf space. They sag under the weight of a jar of pasta sauce. Trust me, I’ve had one bend and fling a jar across the counter. Instead, buy the thicker wire shelves or the stackable storage cubes. They cost a dollar or two more, but they don’t collapse. For a pantry declutter on a budget, spend a few extra dollars on something that won’t break in a month.
Buying Too Many Cute Bins Before You Actually Sort Your Stuff
There’s a certain high you get when you’re in Dollar Tree and every shelf is calling your name. You start picturing a perfectly organized closet with all matching containers, and you lose all sense of reality. Then you get home and realize you bought 15 small bins and 3 large ones, but your dresser has exactly four drawers. So now you have extra bins stacked in the corner. That’s not organizing, that’s collecting.
Here’s a rule I’ve started following: no shopping until the decluttering is finished for that one area. Finish the entire dresser, then walk to the store. You’ll buy less stuff and the stuff you buy will actually fit. I know it’s not as fun to anticipate, but the feeling of it all coming together is way better. Plus, you save money, which is the whole point of a budget tidy.
Overcomplicating Labels and Making It Too Pretty to Work
Confession time. I spent an hour making cute little chalkboard labels for my Dollar Tree jars once. They looked gorgeous. Then I spilled coffee all over them, and they smeared. Honestly, it took the joy out of something that should be simple. Labels are useful, sure, but they don’t need to be art projects. A sharpie and some painter’s tape work fine. Or you can use the clear sticker labels from the office section and just write on them with a ballpoint pen.
The deeper issue is that people often wait until they have the “perfect” labels before they actually start organizing. That’s procrastination wearing a craft apron. Don’t do that. Use what you have right now. The goal is a tidy home, not a Pinterest perfect pantry. If you really want to decorate later, do it after the system is already in place. Otherwise, you’ll never get there.
Another common label mistake is writing things like “misc” or “stuff” on a bin. What does that even mean? You might as well write “takeout containers and old phone chargers.” Be specific. “Cooking oils,” “snack bags,” “first aid.” That way, when you’re rushing to find the band-aids, you don’t have to open seven containers. And seriously, don’t make a label for the label maker. Just write it down.
So here’s where I land after all these mistakes: start with a tiny area, like one drawer or one shelf. Touch everything, keep what sparks joy, and measure that space. Then make your Dollar Tree list. Stick to it. It’s not glamorous, but it works. And once you see the bottom of your pantry for the first time in months, you’ll get that spark. It’s real. Now go pick a small spot and try it. You’ll be hooked before you know it.
Leave a Comment